For this exercise, we will make this shape resembling a wrench:
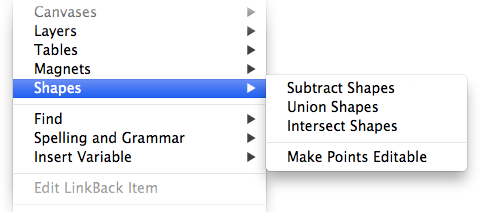
This would be take a bit of time and care to draw using the Omnigraffle vector tools, so instead we'll use two menu commands in the Edit > Shapes menu: Union Shapes and Subtract Shapes.
Start by creating a rectangle and two circles, and lay them out as pictured below, using the Alignment Inspector to be sure that everything is centered horizontally:
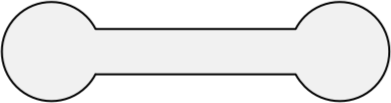
Now, select all three shapes, and, choose Edit > Shapes > Union Shapes. This will create a shape that is the union of the three shapes above. It will look like this:
Next we will create the notches in the wrench. Create two rectangles, round their corners using the Corner Radius setting in the Lines and Shapes Inspector, and align them as such over the shape we just created:
Once again, select the three shapes, but this time choose Edit > Shapes > Subtract Shapes. This will take the shapes on top and subtract them from the shape on the bottom, resulting in the wrench we were aiming to create:
Granted, you'll probably never need to create a wrench-shaped object, but once you're familiar with the Subtract Shapes and Union Shapes commands, you'll find yourself using them far more often than you'd expect.